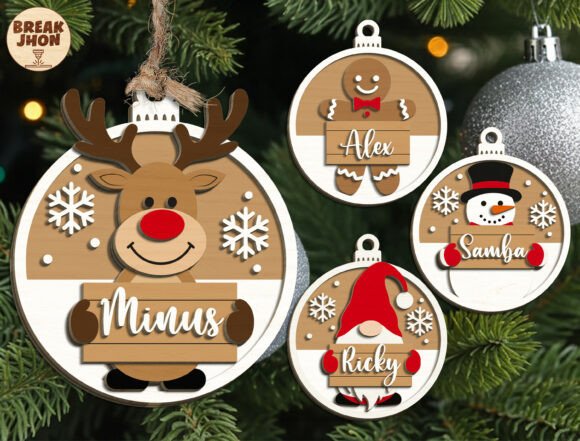
Crafting Depth and Charm with a Layered Christmas Tree Ornament
There is a distinct satisfaction in holding a handmade holiday decoration that feels substantial rather than flat. While traditional paper snowflakes or single-layer cutouts have their place, they often lack the visual weight we crave during the festive season. This is where a layered Christmas tree ornament changes the game. By stacking multiple dimensions of material, you transform a simple silhouette into a miniature 3D village scene that catches the light and draws the eye from every angle. Whether you are a seasoned maker with a workshop full of tools or a parent looking for a meaningful afternoon project with kids, understanding how to leverage these digital designs can elevate your holiday decor from generic to gallery-worthy.
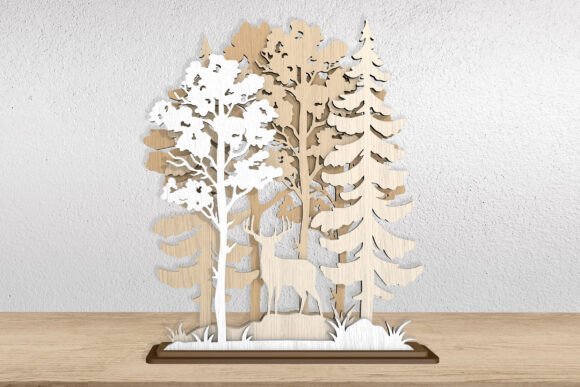
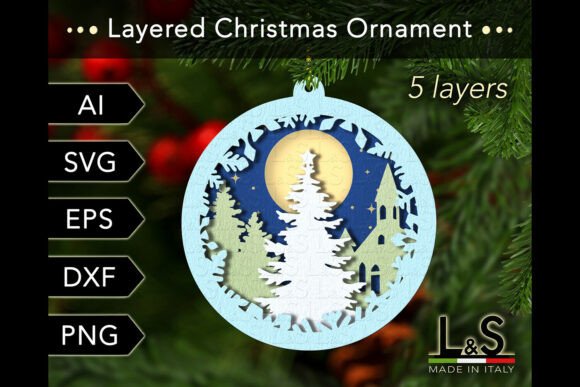
The concept behind these ornaments is deceptively simple yet visually profound. You start with a digital file that separates a complex image—like a cozy winter cottage surrounded by pines—into five distinct layers. When these layers are cut from materials like plywood, acrylic, or heavy cardstock and stacked with spacers in between, they create shadows and depth that mimic real life. The result is a 4x4 inch (or scalable 10x10 cm) piece of art that looks like it took hours to carve by hand, even though the cutting process takes just minutes on modern machinery.
Why Makers and Small Businesses Are Switching to 3D Designs
For hobbyists and entrepreneurs alike, the shift toward layered designs isn't just about aesthetics; it's about perceived value. If you run a small Etsy shop or sell at local craft fairs, customers are increasingly savvy. They can spot a mass-produced item from a mile away. A layered Christmas tree ornament offers a tactile experience that flat prints cannot match. When a customer picks up a wooden ornament with visible grain and shadowed recesses, they immediately associate it with higher quality and craftsmanship. This allows creators to justify a higher price point while maintaining efficient production times.
Consider the versatility of the file formats typically included in these downloads. A comprehensive package usually provides AI, SVG, EPS, DXF, and PNG files. This isn't just technical jargon; it's freedom. A laser cutter owner might prefer the precision of DXF files for cutting Baltic birch plywood, ensuring clean edges without burn marks. Meanwhile, a Cricut or Silhouette user might rely on the SVG files to cut intricate details from glitter cardstock or adhesive vinyl. Having access to vector formats like AI and EPS means graphic designers can tweak the layers in Adobe Illustrator or Inkscape before cutting, perhaps adding a family name to the base layer or adjusting the scale to fit a specific wreath.
Real-World Applications Beyond the Tree
While the name suggests these are strictly for hanging on pine branches, creative users find endless applications for these 3D cut files throughout the holiday season. Here is how different people are utilizing them:
- Home Decor Enthusiasts: Instead of hanging them on the tree, many users mount these layered scenes on small wooden easels to create tabletop villages. A cluster of three or four of these ornaments, perhaps lit with tiny fairy lights tucked between the layers, makes a stunning centerpiece for a dining table or mantel.
- Educators and Camp Leaders: For high school art classes or community center workshops, these files serve as an excellent introduction to spatial reasoning and material properties. Students can learn how changing the thickness of the spacer material affects the final shadow depth, turning a craft activity into a mini-engineering lesson.
- Corporate Gifting: Freelancers and small business owners often struggle to find unique client gifts that aren't just another branded pen. A custom-packaged layered ornament, perhaps cut from premium acrylic or walnut wood, conveys thoughtfulness and attention to detail that strengthens professional relationships.
- Event Planners: Wedding planners hosting winter-themed receptions use these as favor tags or table numbers. Because the files are scalable, a 4x4 design can be enlarged to create dramatic wall art for a photo booth backdrop or shrunk down for delicate gift bag toppers.
Choosing the Right Materials for Your Project
The beauty of using a layered Christmas tree ornament cut file lies in the experimentation. The "best" material depends entirely on the look you want to achieve and the tools you have available. If you are using a laser cutter, 3mm plywood or MDF is a classic choice. The natural wood grain adds warmth, and the slight charring on the edges can enhance the rustic, cozy vibe of a Christmas village. However, if you prefer a modern, sleek aesthetic, clear or frosted acrylic works beautifully. Light passing through translucent layers creates a glowing effect that is particularly striking when backlit.
Paper crafters shouldn't feel left out. Using heavy cardstock in varying shades of green, white, and gold can produce a sophisticated ornament that is lightweight and safe for households with pets or small children who might knock heavier items off the tree. The key here is the spacer. Whether you use foam tape, small cubes of wood, or folded paper tabs, the distance between layers dictates the drama of the shadows. Too close, and the 3D effect is lost; too far, and the structure may become fragile. Most instructions included in these ZIP files offer guidance on optimal spacing, but don't be afraid to test scraps first.
Technical Considerations Before You Cut
Before diving into your first project, there are a few practical steps to ensure success. First, always extract the files from the ZIP archive before attempting to upload them to your cutting software. Trying to open compressed files directly often leads to errors or missing layers. Once extracted, inspect the vector paths. Even with high-quality files designed for machines like Glowforge, xTool, Cricut, or Silhouette, it is wise to check for open nodes or overlapping lines that could confuse your machine.
Scalability is another powerful feature to keep in mind. While the standard size is often 4x4 inches, these vector files can be resized without losing resolution. Want a giant 2-foot version for your front porch? Go ahead. Need a tiny version for a scrapbook layout? That works too. Just remember that as you scale down, extremely fine details might become difficult to weed or cut cleanly, especially in softer materials like paper. Conversely, scaling up might require you to adjust the thickness of your material or add internal supports to prevent warping.
Finally, think about the finish. A raw cut is great, but a little post-processing can make your layered Christmas tree ornament truly shine. Sanding wooden edges, applying a coat of matte varnish to protect against humidity, or adding a dusting of faux snow to the rooflines of the village houses can add that final touch of magic. These projects are not just about following instructions; they are about injecting your personal style into a template that provides the structural foundation.
In a world saturated with plastic decorations that end up in landfills, creating something durable, beautiful, and personalized feels increasingly important. Whether you are making one for your own home or hundreds for a holiday market, the process of assembling these layers connects you to the tradition of making. It turns a digital download into a physical memory, one layer at a time.